So, as all of you know, my life basically revolves around coffee. So, when Whole Latte Love asked me to review ROK’s new non-electric, manual espresso machine, I WAS SO EXCITED. These days, I’ve been making fewer trips to my usual coffee shops and spending snowy days inside, with my own cappuccinos.
I will eventually have a video explaining everything about my process with a tutorial, as well as shots of the machine in action! But for now, these will have to do. For more reviews of the ROK Espresso Machine, check it out on Whole Latte Love. I used my go-to espresso beans, from none other than Mama Mocha. Her Brass Knuckle Espresso can be found here; but be forewarned, once you start ordering Sarah’s sweet and smooth espresso, you will basically be addicted. It’s like crack and you will have a hard time ordering any other coffee, ever.
REVIEW
There are so many factors when pulling a single shot of espresso: water temperature, coarseness or fineness of bean grind, pressure applied while tamping, pressure applied by the machine, freshness of espresso beans, and amount of time to pull the shot from start to finish. So, when I first read about the completely non-electric ROK Espresso Machine, I have to say, I was a little bit uncertain of its ability to pull a remotely professional-level espresso shot. The fact that the machine does not heat water on its own was baffling to me and I was even more concerned about the aerating mechanism for the milk. I was more than thrilled with the results!
For my first effort, I made quite a mess. Honestly, that is to be expected when adjusting to any new machine. I was surprised at how easy the ROK Espresso machine is to use, but it should be noted that in order to brew espresso with moderate consistency from drink to drink, you will likely want to make an additional purchase or two. I wound up buying a burr grinder to go along with my machine. I also bought a kettle so that I could maintain a consistent heat for my water. But, with the machine ringing in at $200, it’s quite a bargain. Even with the additional tools, I spent far less than I would have on the top-rated home brewing machines.
I was a little bit disappointed with the type of foam that is produced with the included milk frother (the bubbles were fairly large), but I think that if you were to use a metal pitcher and give it a few taps on the counter after it is aerated, it has potential for making the microfoam required to produce latte art.
All in all, this is the best home espresso machine I have used. Well, it is the best one I have used that is not $500-$1200. The external factors — heating your own water, primarily — can be a bit of a hassle, but if you do not mind making your espresso next to the stove, it isn’t a problem at all.
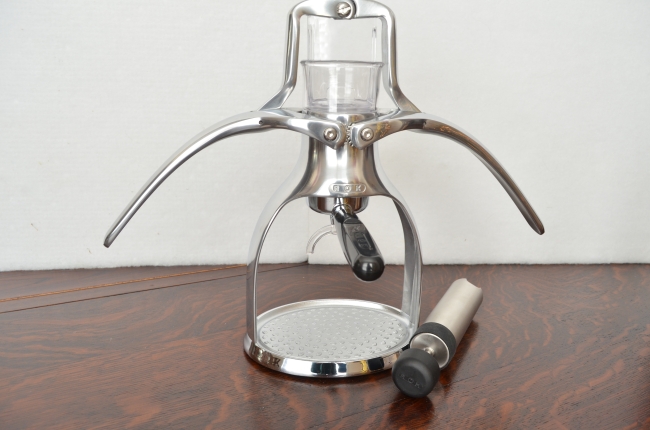
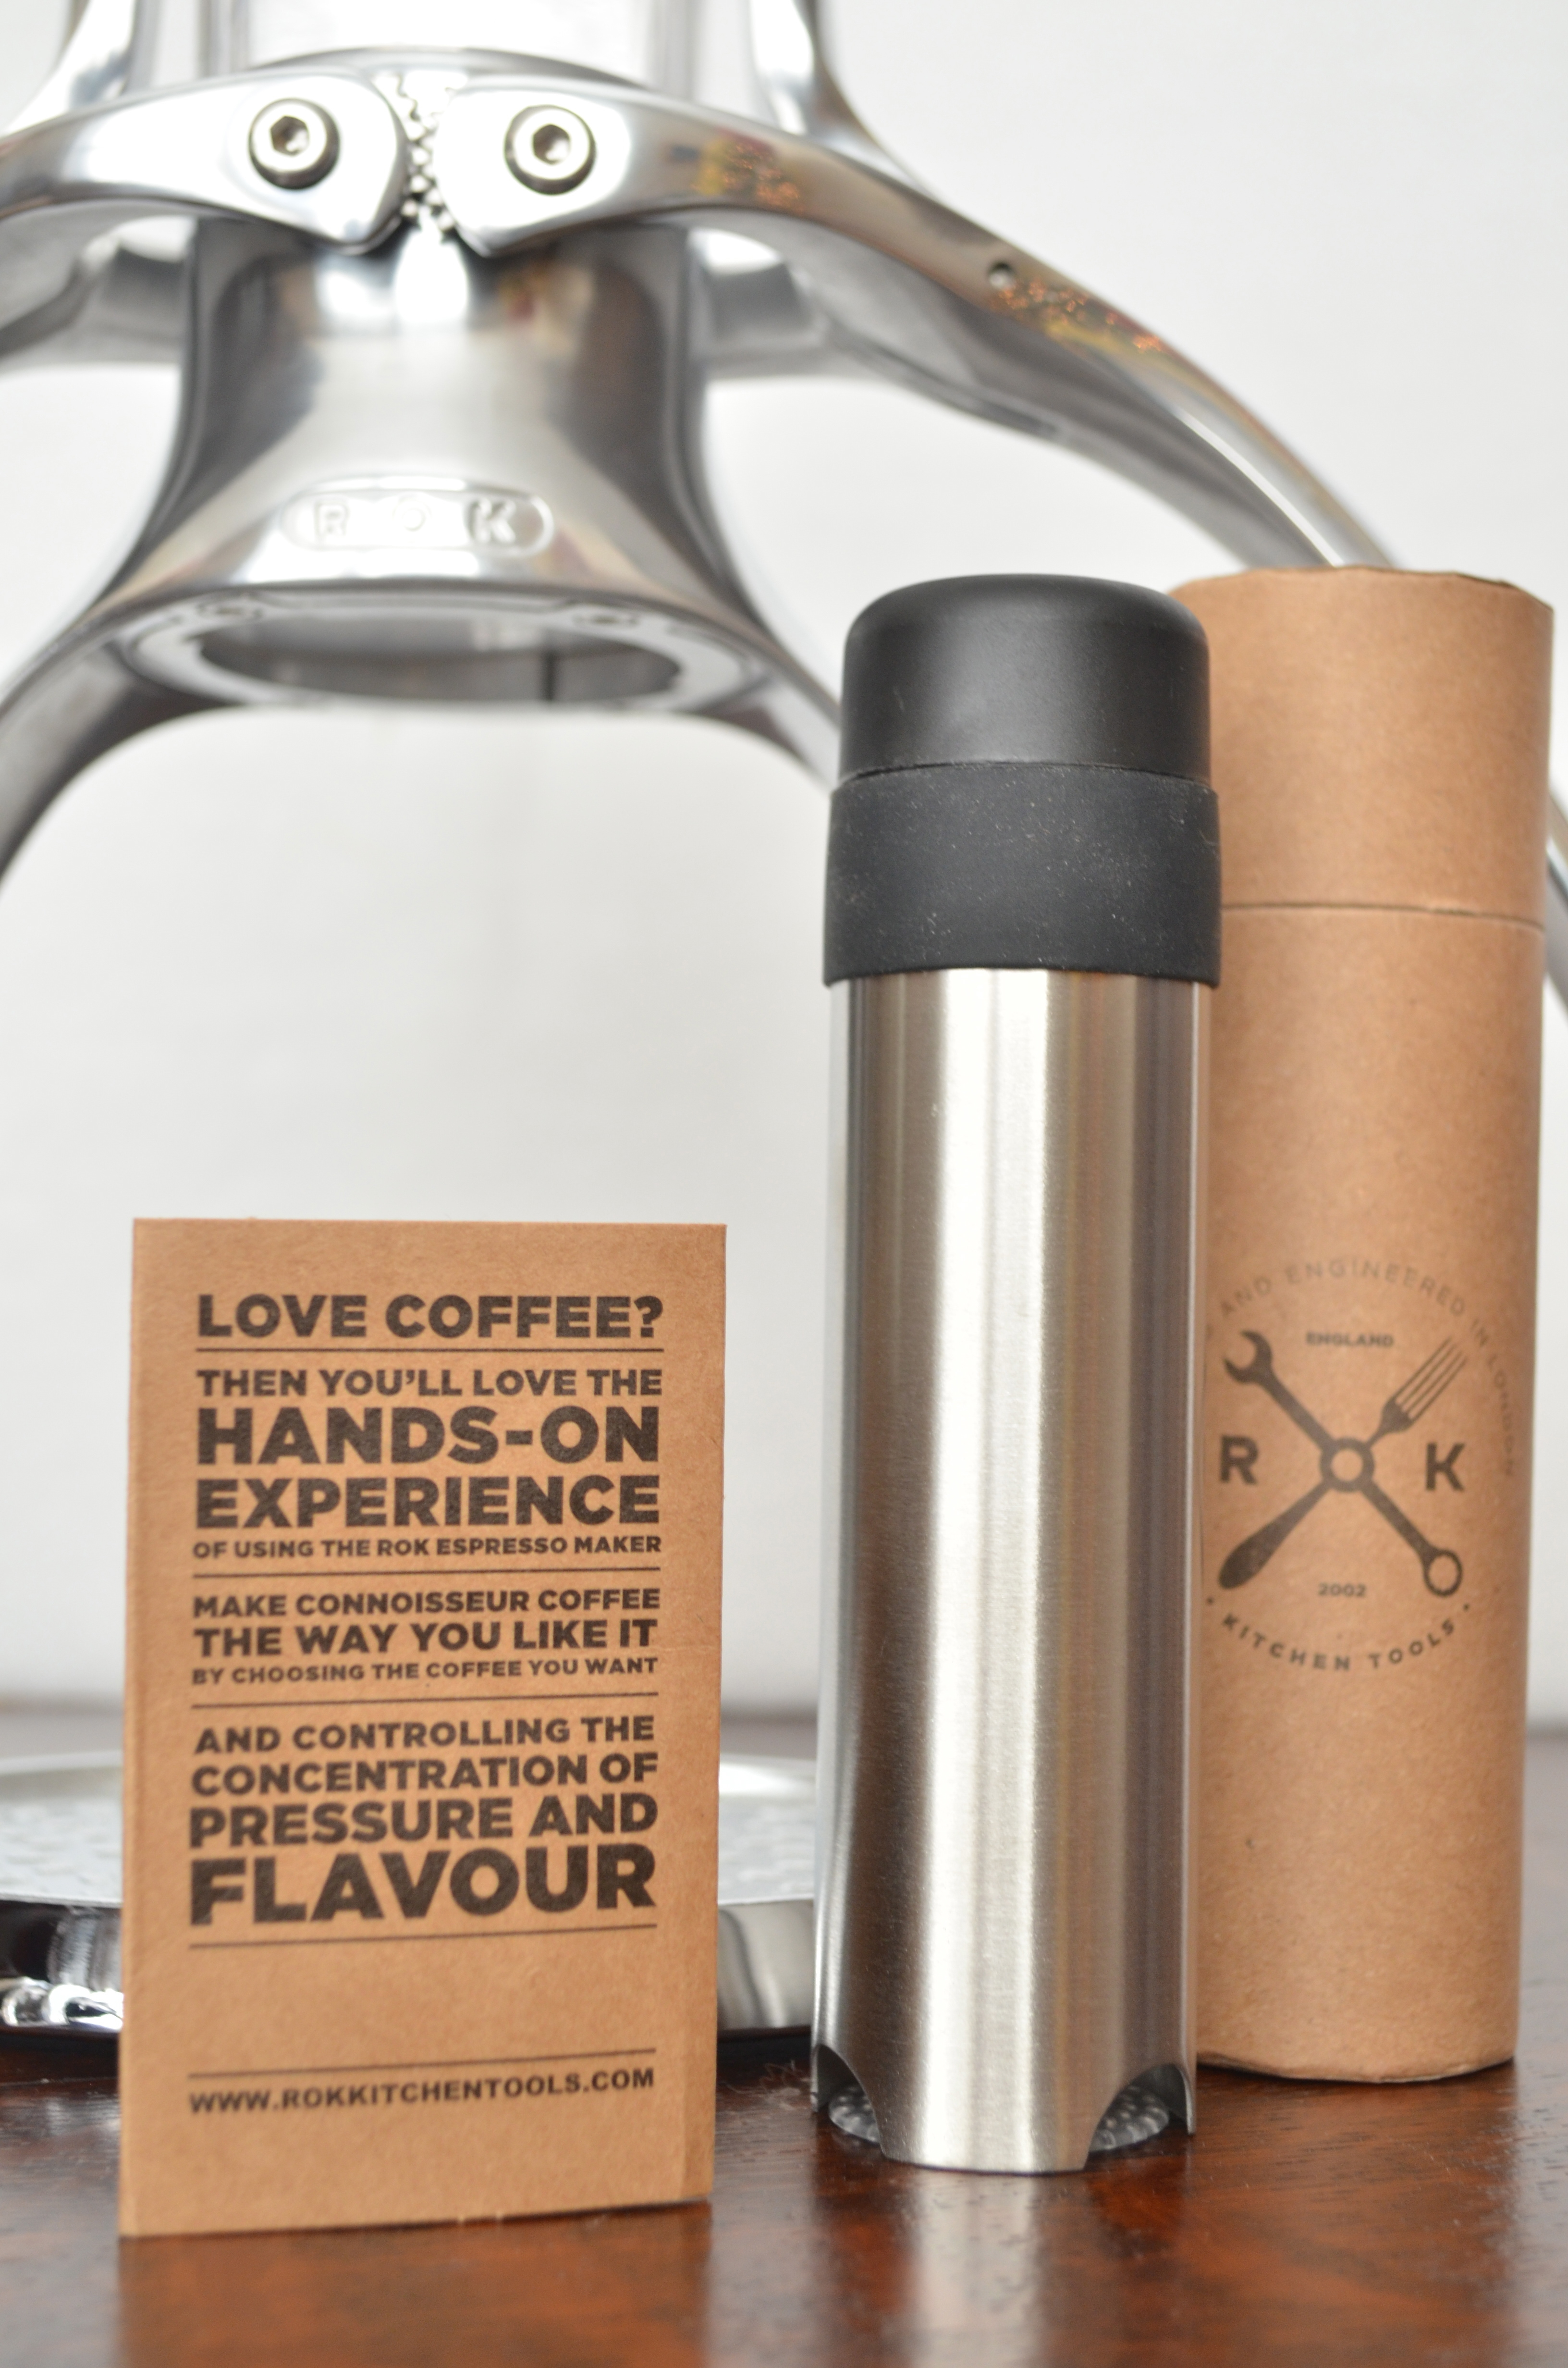
The machine truly is portable. It is extremely light and comes with a really awesome tin container so that you can keep all of the pieces in one place and travel with it. I think I could/would even take it camping as long as I had a hot plate or something similar to heat the water. The fact that there is no electricity required is a huge bonus and keeps you from cluttering your countertops with heavy equipment.
Another bonus of the machine is that it is extremely easy to clean. You can run water through an empty portafilter and that removes most of the remaining residue left from the coffee grinds.
My method is posted after these lovely photos:


METHOD
Grinding coffee beans
Because making espresso can be fairly complicated, I really wanted to focus on consistency in the variables that I could control. I purchased a burr grinder that had multiple settings, was in my price range, and had decent reviews for home use (Krups GVX2-12 Grinder).
Pre-ground beans
You definitely have the option of buying pre-ground espresso, but coffee has a fairly short shelf-life. So if you are going to buy pre-ground coffee, I would recommend buying by the half-pound so that you can maintain the great taste of fresh beans.
Burr grinder vs blade grinder
I was pretty adamant about buying a burr grinder primarily because it has adjustable settings. When using a blade grinder, the only method of adjusting the grind is by the length of time it takes to grind the beans. Timing is not consistent if you change the quantity of beans in the cup. With a burr grinder, the fineness or coarseness of the grind is not dependent on time or the quantity of beans in the hopper.
Heating methods
The ROK Espresso Machine focuses on the pressure needed to pull a shot of espresso. Originally, I was a little miffed by the lack of a boiler on the machine (you don’t have to plug it in at all!). But once I came up with a way to keep the water temperature consistent, I actually really like that I do not have to worry about finding an empty outlet in my already crammed kitchen.
Heating the water
I personally used a tea kettle for heating the water, but you can easily microwave a cup of water and achieve the same results. If you are going to use the microwave, I would recommend using a measuring cup or something that has a spout for pouring and heat the water until it is boiling. When making espresso, the temperature should be between 200F. The temperature will drop fairly quickly when adding it to the cool water chamber of the ROK Espresso Machine, so heating the water to 212F (boiling) was not a problem for me.
Heating the milk
ROK Espresso Machine recommends that you microwave the milk, but because I wasn’t sure of how long to microwave it, I heated the milk on the stove. The milk temperature should be 150-155 — at this temperature, the milk has a sweeter taste. After heating the milk, I moved it into a slightly warmed mug, where I began to use the aerating mechanism. It does create foam, but it does not create the microfoam you might be used to getting at a coffee shop (also the texture needed for latte art). As I mentioned in the review, I think that with a metal pitcher, you might be able to achieve a better microfoam.
Brewing the espresso
I would definitely recommend warming the machine before you begin brewing the espresso. You can do that by pouring boiling water into the water chamber and pushing it through an empty portafilter. Otherwise, the machine will cool the water too quickly when you fill the water chamber. Also, brewing espresso into a cold cup will make the crema disperse faster, so just let the hot water pour through the machine, the portafilter, and directly into the cup you will be using.
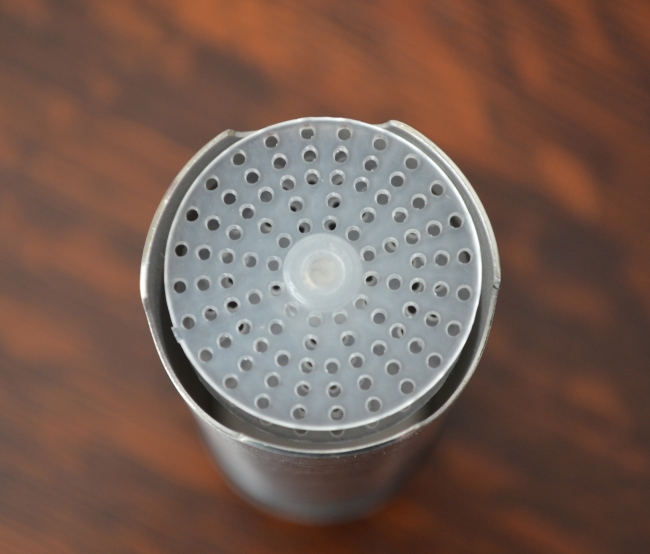
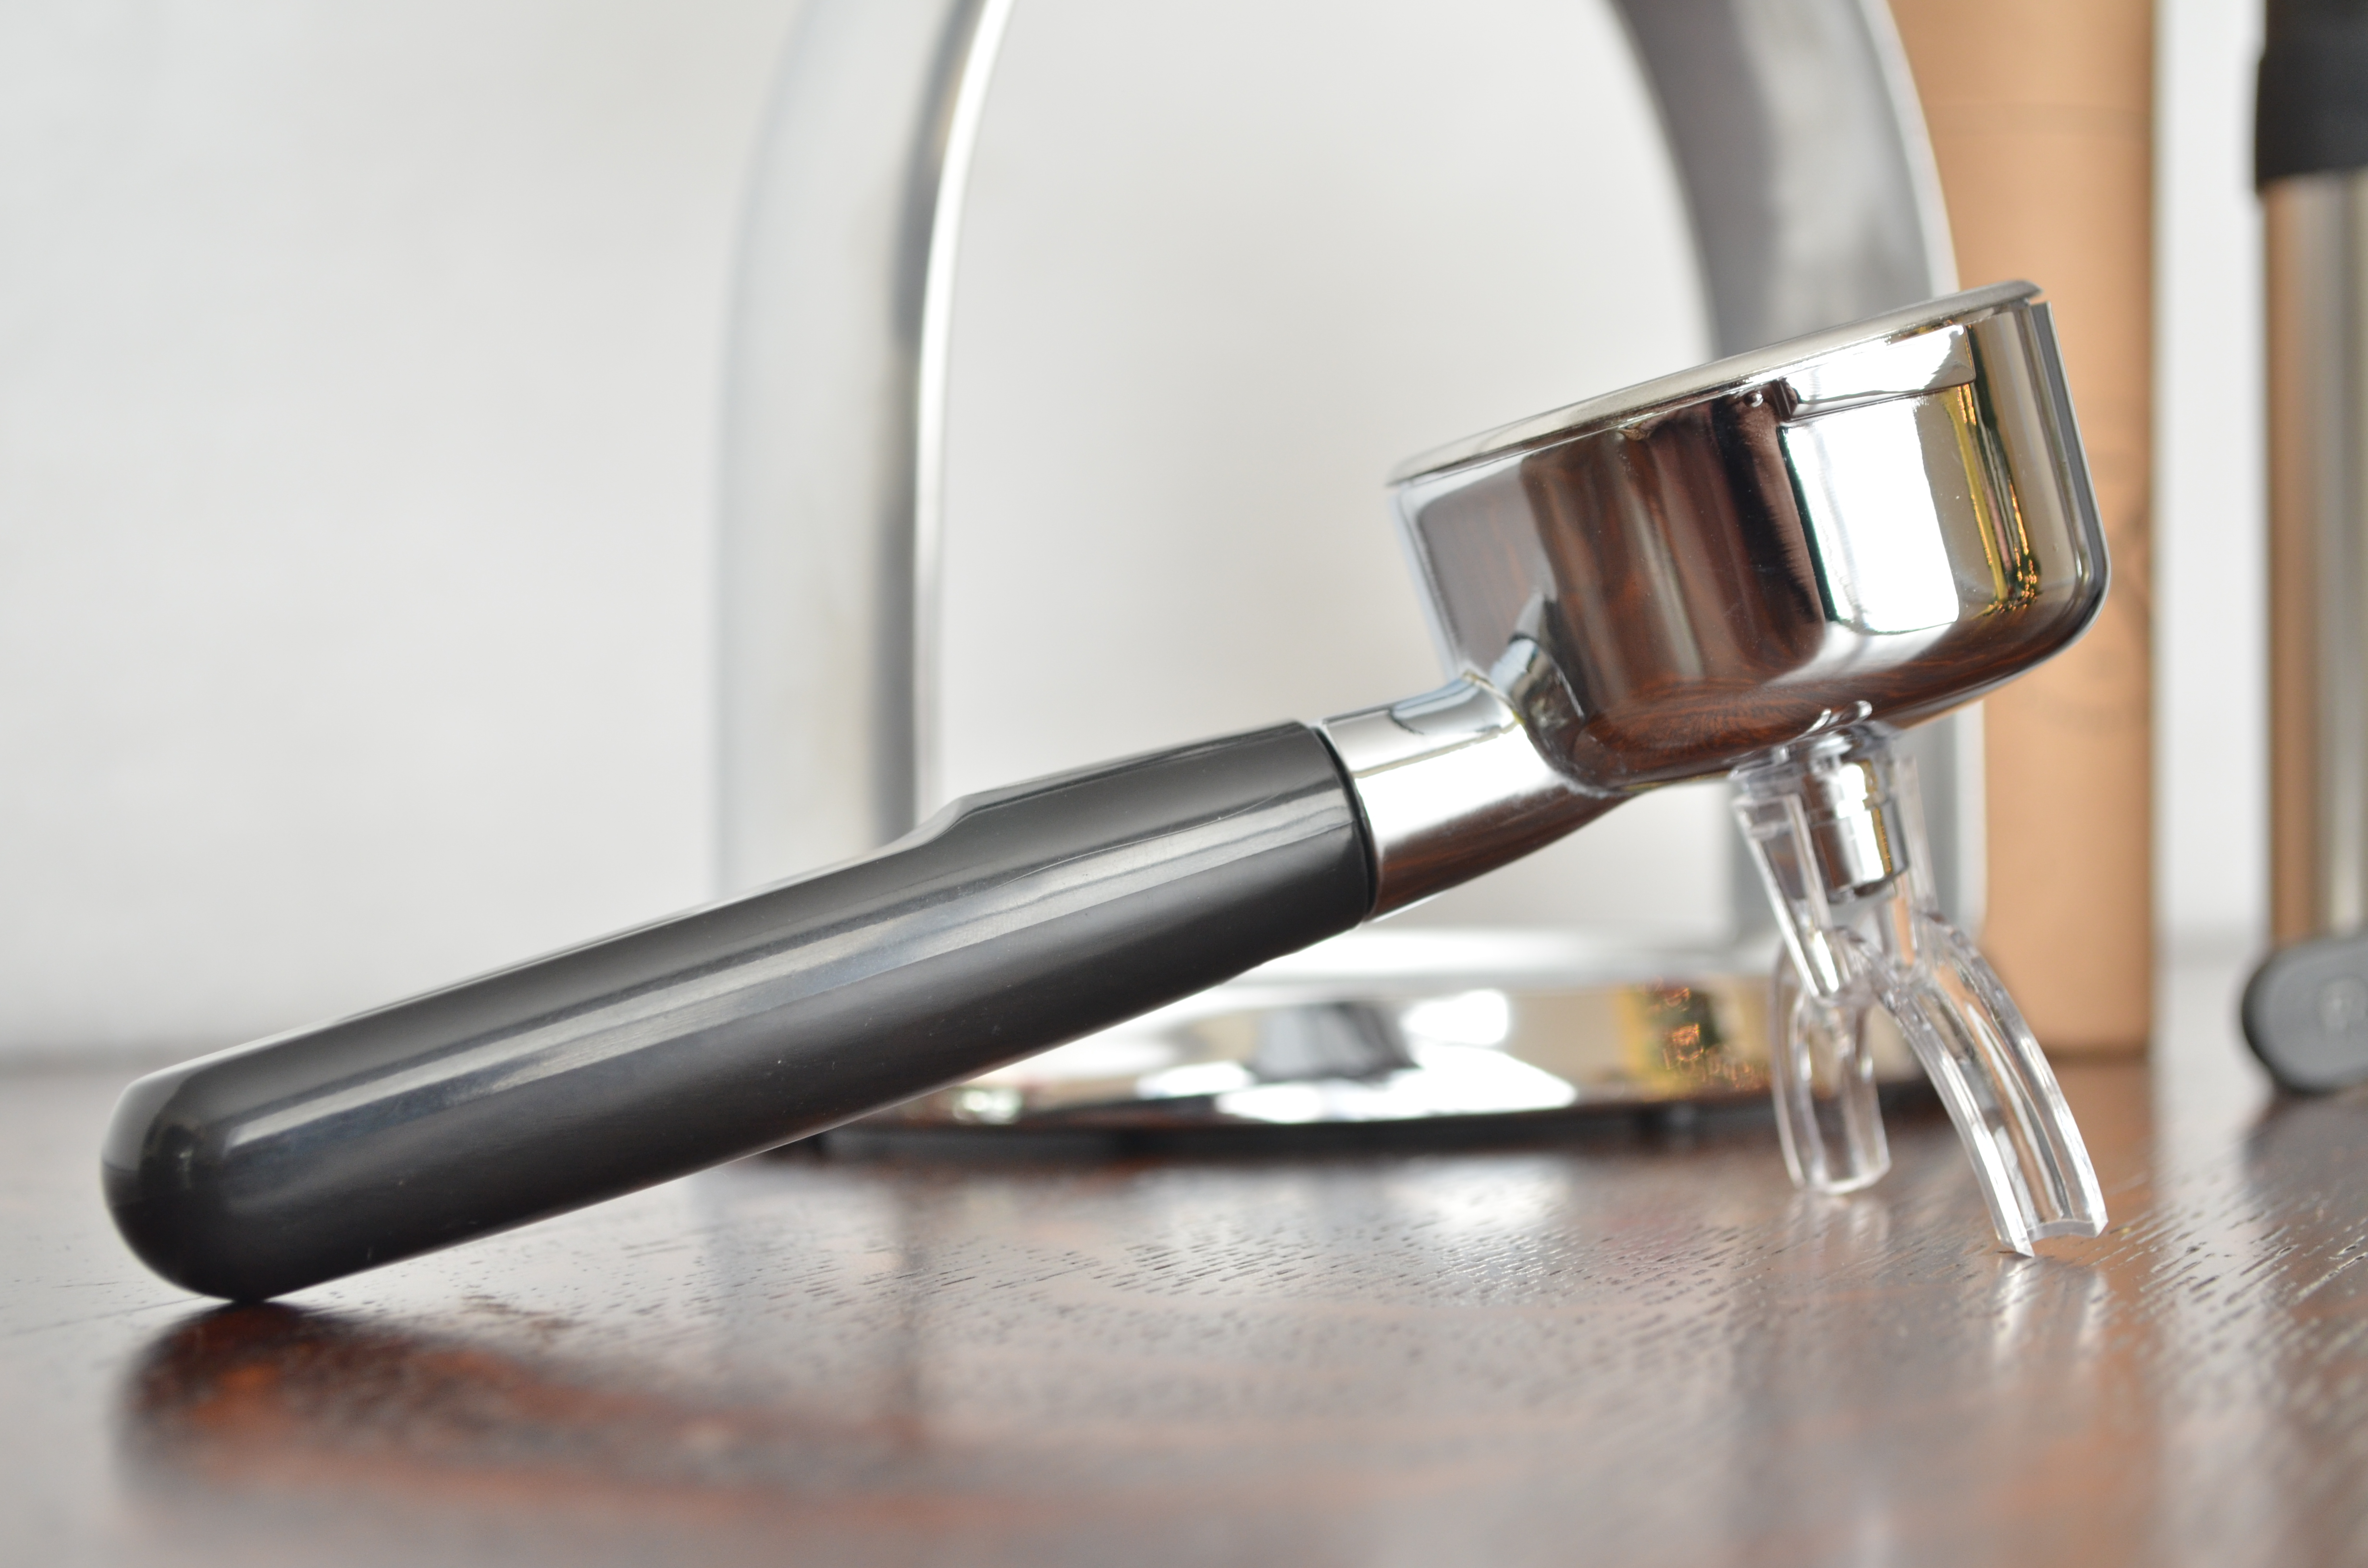
Fill the portafilter
The portafilter needs to be completely dry before adding the espresso. I used the same method for filling the portafilter that I would use while using a professional machine — fill the filter evenly and create a small mound on top, use your finger to push the espresso machine clockwise around the portafilter so that you have a flat surface on top, prior to tamping. While it is important not to over-fill the filter, it is equally important not to under-fill. Without even distribution of the grinds and a full basket, you cannot create an evenly packed flat surface. When the water moves through the espresso, you want it to seep through all of it at an even pace; otherwise, the shot will pull too fast and be under-extracted.
Tamp
The coffee scoop that is included with the ROK Espresso Machine doubles as a tamp and works well if you have used the correct amount of coffee. If you used too little coffee, the curved edge of the spoon handle will prevent you from creating a flat surface on top of the espresso. You should be applying about 40 lbs of pressure, so I would recommend putting something soft under the portafilter to keep it from digging into the countertop!
Lock the portafilter into place
Add water to chamber
With the arms of the machine fully down, add water to the chamber. I added about 2.5-3 ounces of water, which is roughly 1 cm above the metal line. No need to fill the chamber all of the way! I created a pretty big mess when I used too much water.
Pull arms all the way to the top and pause. Push arms down slightly, until you feel the pressure increase, then pause. Push arms all of the way down. Pull arms all the way to the top and push them down again. Voila!
I would recommend brewing your espresso directly into your mug of frothed milk, or a warmed espresso cup. This will help the espresso to maintain it’s flavor!
**this method was used to brew a ristretto shot.


